
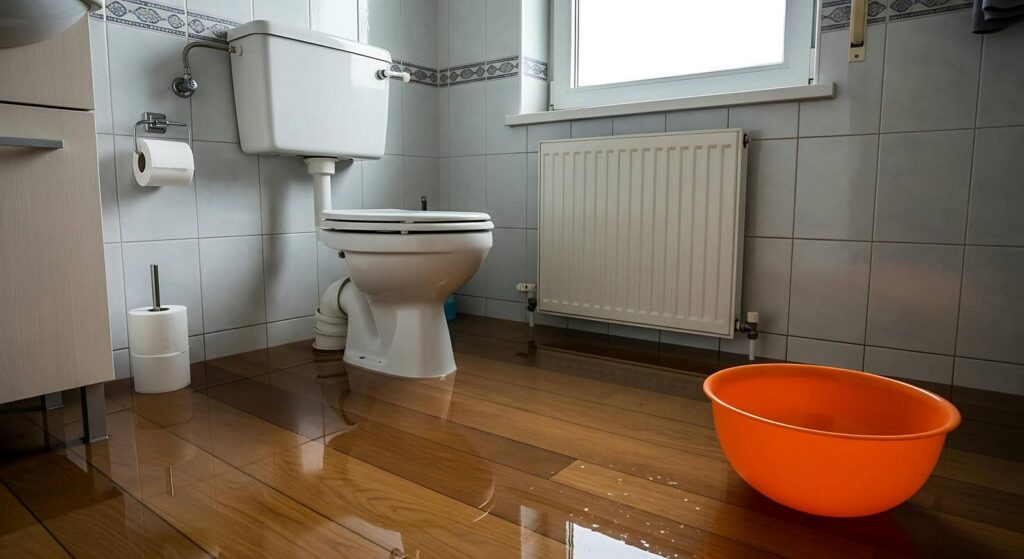
Dark water can creep across a floor and turn a room into a biohazard in minutes. You need to treat contaminated water damage as a health risk, not a cleanup task. First, shut off the source and seal off the area, then put on waterproof gloves, boots, and a mask before you move anything. Sewage and gray water can hide hazards in porous materials, and the next step decides what you can save.
Key Takeaways
- Identify the water source first; sewage, toilet overflows, and gray water are hazardous and need special handling.
- Shut off the source, isolate the area, and keep people out to prevent contamination spread.
- Wear waterproof gloves, rubber boots, eye protection, and a fitted mask before removing any water or debris.
- Clean hard surfaces with detergent, then disinfect and dry the area thoroughly with fans and dehumidifiers.
- Discard porous items like carpet pad, drywall, insulation, and upholstered foam if they were contaminated or soaked.
Which Water Damage Is Contaminated?
Not all water damage is contaminated, but you should treat sewage, toilet overflows, and gray water as hazardous. You can usually classify water by source, visible debris, odor, and contact history.
Clean supply-line leaks often stay in the least risky category if they’ve remained isolated. Once water touches floors, drywall, insulation, or contents, you need to inspect for absorption and hidden migration.
If you’re learning how to clean contaminated water damage, start by identifying what entered the space and how long it sat. Assume porous materials may hold contaminants even when surfaces look dry.
Wear protective gear, isolate the area, and avoid spreading residue. Your safest path is to document conditions, remove unsalvageable materials, and work methodically with a team that respects your home and your safety.
Why Sewage and Toilet Overflows Are Dangerous
Sewage and toilet overflows are dangerous because they can carry bacteria, viruses, parasites, and other waste-derived contaminants into your home. Once that water reaches porous materials, it can spread quickly through floors, drywall, insulation, and contents. You’re dealing with biohazard exposure, not just wet surfaces, so you need to treat the area as contaminated.
The longer the water sits, the more it penetrates cracks, wicks upward, and leaves residues that can keep off-gassing odors and support microbial growth.
It can expose you to pathogens through skin contact, inhalation, or accidental ingestion.
It can contaminate hidden materials that look dry but aren’t.
It can increase cleanup complexity and disposal requirements.
You’re not overreacting by being cautious; you’re protecting everyone in your space.
Shut Off the Water and Isolate the Area
Shut off the water source immediately, then isolate the affected area so contamination doesn’t spread any farther.
If you can reach the main valve safely, close it at once; if the leak comes from a fixture, use that fixture’s supply valve.
Then block foot traffic, close doors, and keep children, pets, and other occupants out of the zone.
If water is moving toward clean rooms, place barriers at thresholds and remove dry items from the edge first.
Mark the area clearly so everyone in your household understands the boundary.
Keep ventilation from blowing contaminated moisture into adjacent spaces.
If electrical outlets, cords, or appliances are in the wet area, don’t touch them.
A controlled perimeter protects your home, limits cross-contamination, and helps your team work together more safely.
Put On Protective Gear First
Before you touch any contaminated water, put on the right protective gear: waterproof gloves, rubber boots, eye protection, and a mask or respirator suited to the contamination level. You’re protecting yourself first, so every step stays controlled and safe.
Check that gloves seal at the wrist, boots cover your ankles, and goggles fit tightly without fogging. If your gear is damaged, replace it before you start; a small tear can expose you.
- Wear disposable coveralls if splash risk is high.
- Keep clean gloves nearby for handling tools.
- Remove gear carefully to avoid spreading residue.
When you suit up correctly, you join a safer, more prepared cleanup team. The right barrier reduces contact, limits contamination, and helps you work with confidence.
Remove Sewage or Gray Water Safely
Once you’re geared up, remove the contaminated water as quickly and carefully as possible using pumps, wet vacs, or absorbent materials rated for sewage or gray water.
Work from the cleanest area toward the most contaminated area so you don’t spread waste farther. Keep the discharge hose secure and direct extracted water to an approved disposal point; never dump it into drains, yards, or storm systems.
If the water level is deep, stop and call a licensed professional so you and your household stay safer. Avoid splashing, kneeling in pooled liquid, or agitating settled debris.
Replace saturated absorbent pads promptly, and bag used materials in sealed, labeled containers for disposal. Move steadily, track your progress, and verify that visible standing water is gone before you continue.
Clean and Disinfect Affected Surfaces
Scrub every affected surface with hot water and an appropriate detergent to remove residue, then apply a disinfectant labeled for sewage, toilet overflow, or gray water exposure and follow the contact time exactly.
You’ll protect your space by working from cleaner areas toward the dirtiest, using fresh cloths, and changing solution when it looks cloudy. Wear gloves, eye protection, and closed shoes so you can stay focused and safe with the rest of your crew.
Clean hard surfaces until no visible film remains.
Disinfect nonporous areas with full coverage.
Rinse only if the label requires it.
Treat porous materials cautiously; if contamination soaked in deeply, they may need removal instead of surface cleaning.
Your careful method helps everyone return to a healthier, trusted space.
Dry the Area and Check for Hidden Moisture
Remove any standing water right away to limit continued contamination and material degradation.
Increase airflow with fans and dehumidifiers as soon as the area is safe to enter.
Then inspect hidden dampness in walls, flooring, insulation, and cavities, since moisture can remain after the surface looks dry.
Remove Standing Water
Start by extracting any standing water with a pump, wet vacuum, or absorbent materials. Then dry the area as quickly as possible with ventilation and dehumidification.
You should wear gloves and boots, and you shouldn’t let contaminated water sit, because each hour raises microbial risk. Work in small sections so you can verify that the floor, baseboards, and low spots aren’t trapping liquid.
If you see discoloration, swelling, or a musty odor, treat it as hidden moisture and document it for follow-up.
- Remove pooled water first.
- Lift saturated materials only if they can’t be cleaned.
- Recheck seams, corners, and under fixtures.
Increase Airflow Quickly
Once standing water is gone, you should increase airflow immediately by opening windows, running fans, and setting up dehumidifiers to pull moisture out of the space.
Aim air across wet surfaces and out of the room, not in circles, so drying stays efficient. Keep doors ajar when safe, and separate affected items to let air reach every side.
Run equipment continuously until surfaces feel dry to the touch and indoor humidity drops. If you’re working with a team, keep a shared checklist so everyone knows which rooms stay open and which tools keep running.
Avoid heat that can warp materials or spread odors. Wear protective gear while you work, and shut off airflow only after the area is stable and ready for a closer moisture check.
Inspect Hidden Dampness
After the visible water is gone and airflow has been running, check for moisture that’s still trapped behind walls, under flooring, and inside cabinets. Use a moisture meter, lift a corner of flooring if it’s safe, and inspect baseboards for swelling, staining, or soft spots.
If you smell mustiness or see darkened drywall, treat the area as damp even if it feels dry. Contaminated water can hide in seams, so work carefully and keep your gear on.
- Probe framing around sinks and toilets.
- Check carpet padding and subfloor edges.
- Document wet spots before drying continues.
If readings stay elevated, keep drying and isolate the space from your household until materials test safe. You’re protecting your home and your people.
Throw Away Unsalvageable Items
Any porous item that soaked up sewage, toilet overflow, or heavily contaminated gray water should go straight to disposal if you can’t fully clean and disinfect it.
You’ll need to remove carpet pad, soaked insulation, particleboard, drywall, upholstered foam, and damaged paper goods because they hold contaminants deep inside fibers and voids.
Bag each item in heavy-duty plastic, seal it, and carry it out without dragging it through clean areas.
Wear gloves, eye protection, and a fitted mask while you handle debris.
Keep salvaged items separate so you don’t cross-contaminate them.
Hard, nonporous materials may be cleaned later, but anything warped, crumbling, or stained beyond recovery belongs in the trash.
Acting decisively protects your space, supports your household, and helps you reset with confidence.
When to Call a Water Damage Restoration Pro
Call a water damage restoration professional when the contamination is extensive, the affected area is larger than you can safely manage, or the damage involves sewage, toilet overflow, or long-standing gray water. You’ll protect your health and your home by stepping back when the risk rises.
A pro can assess hidden moisture, contamination class, and structural impact faster than you can.
- You smell persistent sewage or musty odors.
- Water reached drywall, insulation, or subflooring.
- You need negative-air, PPE, or antimicrobial treatment.
If you’re unsure, don’t guess. Call sooner rather than later, especially if anyone in your household is vulnerable. That choice keeps your crew safe, limits spread, and helps you rejoin a clean, stable space with confidence.
Frequently Asked Questions
How Soon Should Contaminated Water Damage Be Cleaned Up?
You should clean contaminated water damage within 24 hours, ideally sooner. You’ll limit microbial growth, odor, and structural damage by acting fast, wearing protection, and isolating the area until you’ve removed contaminated materials safely.
Can I Use a Regular Vacuum on Contaminated Water?
No, you shouldn’t use a regular vacuum on contaminated water; you’ll spread pathogens and ruin the unit. You need wet-vac equipment rated for sewage or gray water, plus PPE, containment, and proper disinfection.
Is Bleach Always Safe for Disinfecting Water-Damaged Areas?
No, bleach isn’t always safe for water-damaged areas. You should use it only on nonporous surfaces, with proper ventilation and dilution, and never mix it with ammonia or other cleaners. For porous materials, you’ll need different methods.
How Do I Know if Mold Has Started Growing?
Like a hidden storm cloud, you’ll know mold has started growing if you see fuzzy patches, smell a musty odor, or notice spreading stains. Check damp materials carefully, because moisture lets spores bloom fast.
What Should I Do if Contaminated Water Touched My Skin?
If contaminated water touched your skin, you should rinse it immediately with clean running water and soap, then remove soiled clothing. You’ll want to watch for irritation, avoid touching your face, and seek medical help if symptoms develop.
Final Thoughts
When you clean contaminated water damage, move fast but stay careful. Wear full protective gear, shut off the source, and isolate the area before you start. Remove dirty water, disinfect every affected surface, and dry the space completely to stop hidden moisture from becoming a bigger problem. If materials can’t be fully cleaned, throw them away. When the job feels like too much, don’t bite off more than you can chew—call a restoration pro.