
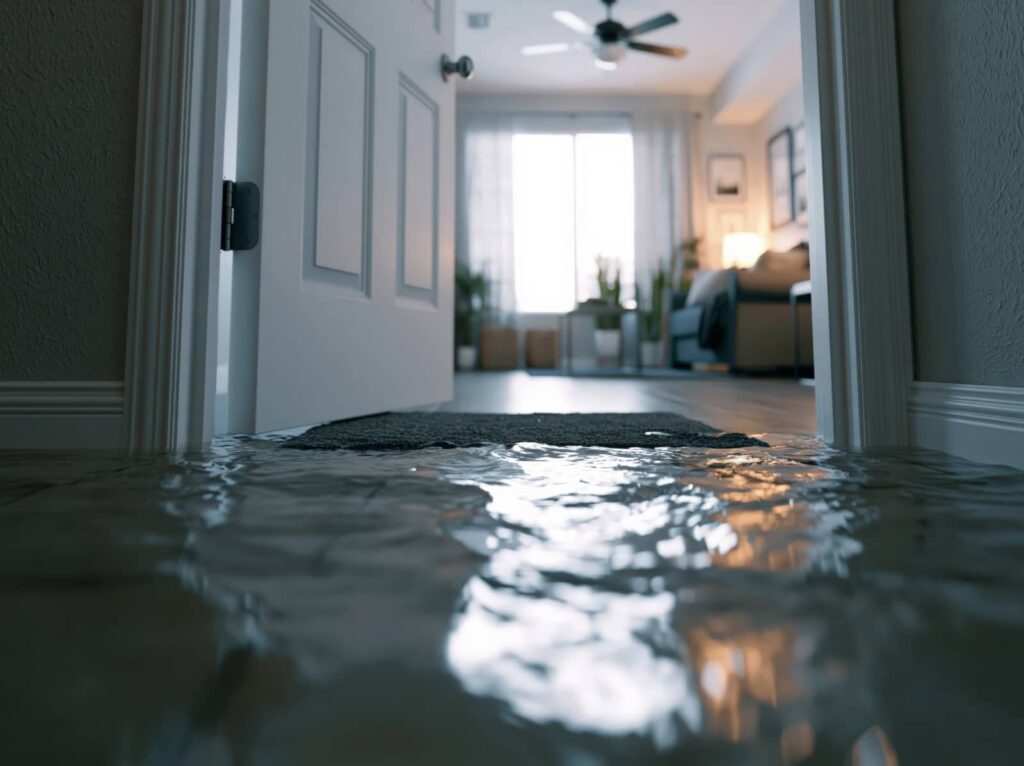
When a basement flood can soak a room in under an hour, every minute counts. Flood Damaged Flooring Restoration starts with shutting off power, removing standing water, and drying the flooring before moisture reaches the subfloor and framing. Then you have to inspect for hidden damage, mold, and contamination, because what looks salvageable often isn’t. The next step depends on the material, and the wrong choice can lock in a much bigger repair.
Key Takeaways
- Shut off power, stop the water source, and remove standing water safely.
- Document damage with photos and move furniture, rugs, and loose items out of the area.
- Use air movers, dehumidifiers, and lifted baseboards to dry flooring and subfloor quickly.
- Remove wet carpet, padding, warped boards, and any damaged sections showing swelling or soft spots.
- Address the moisture source, disinfect contaminated areas, and replace flooring with more flood-resistant materials.
What to Do After Basement Flooding
After basement flooding, act fast: shut off power to the affected area if it’s safe, stop the water source, and remove standing water as soon as possible.
You should then document damage with photos and notes, so your flood damaged flooring restoration plan stays organized. Move furniture, rugs, and loose items out of the wet zone to protect your shared space and reduce hidden damage.
Wear gloves, boots, and eye protection before you enter. Check for sewage, chemical odors, or sagging materials; if you notice them, keep out and call qualified help.
Next, inspect the flooring surface and perimeter for soft spots, warping, or visible separation. Report conditions to your insurer promptly.
Coordinating quickly helps your household stay safe, informed, and ready for the next repair step.
Dry Flood Damaged Flooring Fast
You need to remove standing water and force dry the flooring immediately with high-capacity air movers and dehumidifiers.
Monitor moisture levels in the flooring and subfloor until they return to acceptable ranges.
Fast drying helps stop mold growth and limits further structural damage.
Rapid Moisture Removal
Fast moisture removal starts the moment floodwater recedes, because flooring can wick water into the subfloor and trap it under finishes.
You need to open pathways for air, so remove baseboards, lift loose edges, and separate planks or tiles where possible.
Then position high-velocity air movers to sweep across the surface, and run a dehumidifier to pull vapor from the room.
Keep doors and windows controlled so you don’t slow drying.
Check moisture with a meter at the flooring, underlayment, and subfloor, and keep working until readings trend down.
If you’re part of a restoration team, coordinate each step so everyone dries the same zones in sequence.
Document conditions, because consistent tracking helps you make confident decisions and move the space toward safe recovery.
Prevent Mold Growth
Once floodwater has been removed, dry flooring immediately to limit mold growth, since lingering moisture can colonize porous materials within 24 to 48 hours. You need disciplined action to keep your space safe and your crew confident:
- Pull up wet carpet, pad, and warped boards at once.
- Set air movers and dehumidifiers to force evaporation and lower humidity.
- Lift baseboards and inspect the subfloor for trapped moisture or staining.
- Sanitize affected surfaces with an approved antimicrobial, then monitor daily.
Measure moisture with a meter; don’t guess. If readings stay elevated, continue drying or remove compromised material.
Seal unaffected areas to prevent cross-contamination. By acting fast and following the same procedure, you protect the structure, reduce odor, and keep mold from taking hold.
Look Under the Flooring for Damage
Before replacing any flooring, inspect the layers beneath it for hidden water damage, mold, and structural weakening. You’ll need to lift a small section at an edge or junction strip, then check the underlayment, subfloor, and fasteners for swelling, delamination, rust, or soft spots.
Use a moisture meter to compare affected areas with dry reference points, and mark any readings that stay elevated. If the surface feels loose, spongy, or uneven, treat the structure as compromised until you verify otherwise.
Remove wet padding and damaged panels promptly, then document what you find so you can match repairs to the existing system. When you work methodically, you protect the room’s foundation and help your home recover as a unit.
Spot Mold, Sewage, and Contamination Risks
If floodwater reached the flooring, treat any visible mold, sewage residue, or chemical contamination as a health hazard and stop work until you assess the area safely.
You’re part of a crew that protects the space by checking for odor, staining, slime, and discoloration along seams and edges. Use gloves, eye protection, and a respirator before you get close.
- Note black, green, or white growth on surfaces.
- Check for toilet backup, drain water, or soil tracks.
- Look for fuel, solvent, or cleaning-product spills.
- Mark affected zones with tape so nobody steps in.
If you confirm contamination, keep traffic out, document findings, and follow local disposal and cleanup rules.
Acting early helps you reduce exposure and stay aligned with safe restoration practice.
Decide Whether to Save or Replace Flooring
After you’ve checked for contamination, decide whether the flooring can dry out and return to service or whether you need to remove it. You should base that call on material type, saturation depth, and elapsed time since flooding.
If the surface holds shape, releases moisture quickly, and the adhesive or fasteners still grip, you can often keep it. If it’s swollen, warped, delaminated, or smells persist after drying, replacement is the safer path.
Inspect edges, seams, and junctions for hidden wetness and lifting. Check the subfloor beneath, because damaged support can make salvage pointless.
In a trusted restoration team, you protect the space by acting fast, documenting findings, and choosing the option that restores safety, stability, and confidence for everyone who uses the room.
Restore Carpet, Hardwood, and Tile
Carpet, hardwood, and tile each demand a different restoration approach after flooding, so match your method to the material and the extent of wetting. You can handle this well when you work fast and stay methodical.
- Extract standing water, then lift carpet and pad if contamination or saturation is present.
- Clean and dry salvageable carpet with high-volume air movement and dehumidification.
- Wipe hardwood promptly, control moisture, and keep the room conditioned until readings stabilize.
- Clean tile and grout with detergent, then dry the surface and inspect the setting bed.
You’re not doing this alone—use moisture meters, document conditions, and separate materials that dried cleanly from those that didn’t.
If odors persist or staining appears, treat the area as compromised and move to replacement planning.
Fix Warped Boards and Loose Seams
Inspect each board for cupping, crowning, or edge lift, and confirm the subfloor is dry and stable before you proceed.
Refasten loose seams with the proper adhesive or mechanical fasteners so the flooring locks back into alignment.
If a section stays warped or separated after drying, replace it to restore structural integrity and a clean joint profile.
Assess Board Warping
Warped boards often signal trapped moisture that can keep the floor unstable even after surface drying. You should inspect each plank under strong light and note cupping, crowning, or edge lift.
Use a straightedge to measure deviation, and mark boards that no longer lie flat. If the floor still feels soft, pause and let it dry further before you decide on repairs.
- Check board ends for gaps or buckling.
- Press along seams to find movement.
- Listen for hollow sounds that suggest poor contact.
- Record affected areas so your repair plan stays organized.
When you document damage clearly, you join a careful restoration process that protects the floor’s structure and helps you restore a reliable, healthy room.
Secure Loose Seams
Start by securing any loose seams so the floor stays stable while you continue drying and repairs. Inspect each joint for lifted edges, gaps, and tongue-and-groove separation.
If a board has only slight movement, you can use flooring adhesive and finishing nails or trim screws to re-anchor it. Pre-drill to prevent splitting, then drive fasteners at an angle into the subfloor. Wipe away squeeze-out immediately.
For wider seams, insert matching wood slivers or flexible filler only after the area is dry enough to accept repair. Keep boards aligned while the adhesive cures, and check for bounce or shifting.
You’re restoring a safer, tighter floor with your crew’s steady attention, so take each seam seriously. Recheck all repairs after drying to confirm the surface stays flat and secure.
Replace Severely Damaged Sections
When boards are swollen, buckled, delaminated, or still loose after drying, you need to remove and replace those sections rather than force a repair. You’ll protect the whole floor by isolating damaged planks, lifting them cleanly, and checking the subfloor for mold, rot, or fastener corrosion.
Then you can fit new material that matches thickness, species, and finish.
- Mark the failed area.
- Cut back to sound edges.
- Remove compromised underlayment.
- Install, fasten, and acclimate replacements.
Afterward, re-secure seams, sand connections, and seal exposed cuts.
If the flood involved contaminated water, treat the space as part of your recovery team: wear PPE, disinfect, and dispose of debris correctly.
This approach gives you a stable, unified floor again.
Prevent Future Basement Flooding Damage
To reduce the risk of repeat damage, you should address the moisture source, not just replace the flooring. Inspect foundation cracks, failed sealants, and clogged drains, then repair each one before you reinstall finishes.
Test sump pumps, add battery backup, and verify discharge lines move water away from the house. Install a dehumidifier and keep basement relative humidity below 50%.
If your site floods from runoff, regrade soil and extend downspouts. Use flood vents or backwater valves where code allows.
Choose flooring systems that tolerate brief wetting and let you remove sections quickly. When you document repairs and maintain a seasonal checklist, you protect your home and join the group of owners who prevent the next loss.
Frequently Asked Questions
Can Radiant Floor Heating Be Restored After Flood Damage?
Yes, you can restore radiant floor heating if you dry, inspect, and pressure-test the system, replace damaged tubing or controls, and verify the subfloor. You’ll need a qualified technician to confirm safe operation.
How Long Before Mold Starts Under Wet Flooring?
Like a timer, mold can start under wet flooring within 24 to 48 hours. You’ll need to remove moisture fast, inspect the subfloor, and dry everything thoroughly to protect your home and crew.
Does Homeowners Insurance Cover Basement Flooring Replacement?
Usually, you’re covered if a sudden, accidental event caused the damage, but not for gradual seepage or flooding. Check your policy, document losses, call your insurer, and start mitigation immediately to protect your claim.
Can Laminate Flooring Be Dried and Salvaged?
Usually, you can’t reliably dry and salvage laminate flooring after flooding; investigate the swelling theory at the seams, then inspect the core, remove affected planks, dry the subfloor, and replace contaminated material if needed.
When Should a Structural Engineer Inspect the Subfloor?
You should call a structural engineer before you reinstall flooring if the subfloor sags, feels spongy, shows cracking, or stayed soaked more than 24 hours; you’ll protect your team’s standards and avoid hidden failure.
Final Thoughts
You’ve moved through the cleanup, drying, inspection, and repair steps with the precision of a flood response team. Keep watching for hidden moisture, mold, and weakened seams, because water can linger like a ghost under the surface. If you replace damaged materials and choose resilient finishes, you’ll build a stronger floor system and reduce future risk. Act quickly, document every condition, and don’t let one basement flood become the next repeat disaster.