
When water hits your floor, you need to act fast. Flooded Floor Cleanup starts with shutting off the source, making the area safe, and protecting anything you can document. Then you can remove standing water, dry hidden spaces, and clean the surfaces before mold takes hold. But if the damage has reached subfloors, walls, or wiring, the next decision gets more complex.
Key Takeaways
- Stop the water source, shut off electricity, and keep everyone out until the area is safe.
- Document the damage with photos and notes for insurance claims.
- Remove standing water quickly using pumps, wet vacuums, mops, and absorbent towels.
- Dry the area thoroughly with fans, dehumidifiers, and moisture checks in hidden spaces.
- Clean, disinfect, and repair damaged materials; call professionals if flooding is extensive or returns.
Stop the Water and Make It Safe
Before you do anything else, shut off the water source if you can do so safely, then turn off electricity to the affected area at the breaker panel to reduce shock risk.
Next, verify that the leak, overflow, or backup has stopped, and keep everyone out of the wet zone until you’re sure conditions are stable. If water is still entering, call the utility, landlord, or plumber right away.
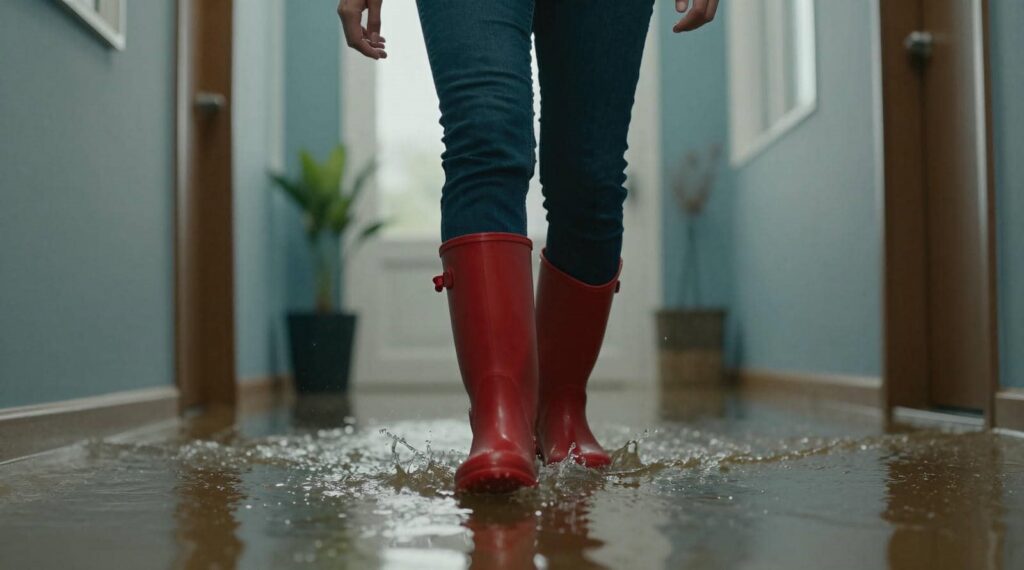
Use rubber boots and gloves before you reenter. Then open nearby doors and windows if weather allows, so you can start reducing humidity without spreading debris.
These flooded floor cleanup steps help you control the scene, limit additional damage, and protect your household’s safety.
Stay calm, work methodically, and move together as a team so you can handle the next cleanup stage with confidence.
Document Damage and Save What You Can
Once the area is safe, document the damage and salvage what you can right away. Take clear photos and video of every affected room, wall, baseboard, floor seam, and damaged item before you move anything.
Note the date, time, water source, and visible spread in a simple log. Label each image so your team can track conditions accurately.
Then remove only dry, movable belongings that you can clean and protect, such as furniture, rugs, documents, and electronics if they stayed above water. Place salvageable items in a clean, dry staging area.
Separate damaged items from recoverable ones to prevent cross-contamination. Keep receipts for supplies and temporary storage.
This record helps your crew stay organized and supports insurance claims, so you’re not handling recovery alone.
Remove Standing Water From the Flooded Floor
Use a wet vacuum to remove the bulk of the standing water, working in slow, overlapping passes to keep the surface from re-wetting.
Mop any small puddles the vacuum can’t reach, then wring the mop frequently so you don’t spread moisture.
Protect adjacent areas with towels, barriers, or plastic sheeting so runoff doesn’t extend the damage.
Use Wet Vacuums
A wet vacuum helps you pull standing water off the flooded floor quickly, which limits moisture spread and reduces the risk of further flooring damage. Set the unit for liquid recovery, check the hose seal, and empty the tank before you start.
Work in slow, overlapping passes so you don’t leave a film of water behind. Keep the nozzle flat to maintain suction, and stop to empty the tank whenever it nears full. If you’re working with your team, divide the room into sections so everyone covers one area methodically.
Wear protective gloves and boots, and keep the cord clear of pooled water. As you remove water, watch for soft spots, lifted edges, and trapped moisture, then move on only when the surface is visibly clear.
Mop Small Puddles
After you’ve removed the bulk of the water, mop any remaining small puddles with a clean, dry mop or absorbent towel to keep moisture from spreading.
Work in short passes, pressing firmly and lifting liquid instead of pushing it around. Keep your tools clean so you don’t redeposit water or debris.
Check low spots, seams, and edges, where puddles usually linger and slow drying.
- Place the mop head on the puddle.
- Apply steady pressure.
- Lift and wring out the mop.
- Repeat until the surface feels damp, not wet.
If you’re part of a cleanup crew, stay consistent so everyone works the same way.
This simple step helps you regain control, reduce slip risk, and prepare the floor for the next phase.
Protect Adjacent Areas
Before you move more water off the flooded floor, protect nearby rooms, walls, and finishes by containing the spread. First, close doors, lay towels at thresholds, and place plastic sheeting where runoff can travel.
Next, remove area rugs, furniture pads, and loose items so you don’t wick moisture into adjacent spaces. If you’ve got baseboards or trim exposed, check for seepage and dry those edges quickly.
Set fans to direct airflow within the affected room, not into hallways, so you keep the damage zone defined. As you work, monitor adjoining surfaces for dampness and stop if water starts migrating.
This method helps your team protect the home, limit secondary damage, and prepare the space for professional water damage cleanup.
Dry the Flooded Floor and Hidden Areas
You should wipe and extract remaining surface moisture with clean, absorbent towels or a wet-dry vacuum.
Then you should direct airflow across the floor and into gaps, baseboards, and other concealed spaces to dry trapped moisture.
Check hidden areas with a moisture meter so you can verify drying and prevent residual water damage.
Surface Moisture Removal
Start surface moisture removal by extracting standing water and drying the flooded floor as quickly as possible to limit absorption and spread. You’ll protect the floor and keep your cleanup team on track.
- Use a wet vacuum or mop to remove visible water.
- Wipe the surface with clean, absorbent towels, replacing them often.
- Run air movers across the floor, keeping airflow low and steady.
- Check for lingering dampness on trim, seams, and edges, then repeat drying until the surface feels uniformly dry.
Work methodically so you don’t miss wet patches that can slow recovery.
If you stay organized and act fast, you’ll give your space the best chance to recover cleanly and feel like home again.
Hidden Area Drying
Once the visible water is gone, dry the flooded floor’s hidden areas so trapped moisture doesn’t spread behind trim, under cabinets, or into seams.
Pull back baseboards, open access panels, and lift removable flooring edges where you can. Set air movers to push dry air across gaps, and run a dehumidifier to pull vapor from the room.
Use a moisture meter on corners, expansion joints, and subfloor edges, then compare readings until they fall consistently.
If you share the space with others, keep pathways clear so equipment can work safely and everyone can stay involved in the process.
Replace wet insulation, wipe framing, and check daily for cool, damp spots or odors.
When readings stabilize, you’re ready for the next cleanup step and professional review.
Clean and Disinfect the Floor
Scrub the floor with a cleaner that matches the flooring material, then disinfect any surfaces that contacted floodwater to remove contaminants and reduce mold growth. You’ll protect your space best when you work in sections and keep the floor lightly wet, not soaked.
Use clean microfiber pads so you don’t spread residue back across the area, and rinse as directed by the product label.
- Mix the cleaner to the correct dilution.
- Apply it evenly and agitate stubborn soil.
- Rinse or wipe away remaining cleaner.
- Apply disinfectant with the required contact time.
Finish by letting the floor air-dry completely and checking for missed spots. That steady routine helps your home feel safe, clean, and cared for.
Call a Water Damage Pro If Needed
If the flooding covers a large area, reaches under baseboards, or keeps returning after cleanup, call a water damage professional right away. You’ll protect your home faster when you escalate early.
Shut off the water source, if possible, and document visible damage with photos before the crew arrives. Then keep traffic off the wet area and maintain ventilation without spreading moisture.
A pro can inspect subfloors, wall cavities, and insulation with moisture meters and thermal imaging, then set up extraction, structural drying, and antimicrobial treatment.
If you notice buckling, odor, or soft flooring, don’t wait. You’re not handling this alone; trained technicians work with you, coordinate the next steps, and help restore a safe, dry space for everyone in your household.
Frequently Asked Questions
How Long Should I Wait Before Walking on a Wet Floor?
You shouldn’t walk on a wet floor until it’s visibly dry and firm, because you’ll spread moisture and slip. If you must cross, wear clean boots and step lightly; otherwise, wait for professional assessment.
Can I Use a Household Fan to Speed Drying?
Yes, you can use a household fan to speed drying, but you’ll need to position it safely and run it continuously; a fan’s modern-day squire helps circulate air, yet you should also monitor moisture closely.
Should I Throw Away Soaked Rugs and Carpets Immediately?
No, you shouldn’t toss them immediately. You can lift, inspect, and separate them first; then you’ll decide based on contamination, saturation, and material. If sewage touched them, you’ll discard them and document everything.
How Do I Know if the Subfloor Is Damaged?
You know the subfloor’s damaged when it feels soft, swells, or smells musty. About 40% of homes face water damage, so inspect seams, probe weak spots, and call a pro if deflection persists.
Will My Insurance Cover Flooded Floor Cleanup Costs?
You may get coverage if your policy includes water damage, but you’ll need to review exclusions, document losses, and file quickly. Contact your insurer, follow claim procedures, and keep receipts for cleanup costs.
Review
By stopping the leak, making the area safe, and documenting damage, you’ve already protected your home and your claim. As you remove standing water, dry hidden spaces, and clean every affected surface, you’re cutting off the conditions that let mold and structural damage take hold. If the floor still feels soft, smells musty, or won’t dry, you shouldn’t wait call a water damage pro. Your quick, careful response now can spare you a much bigger repair later.